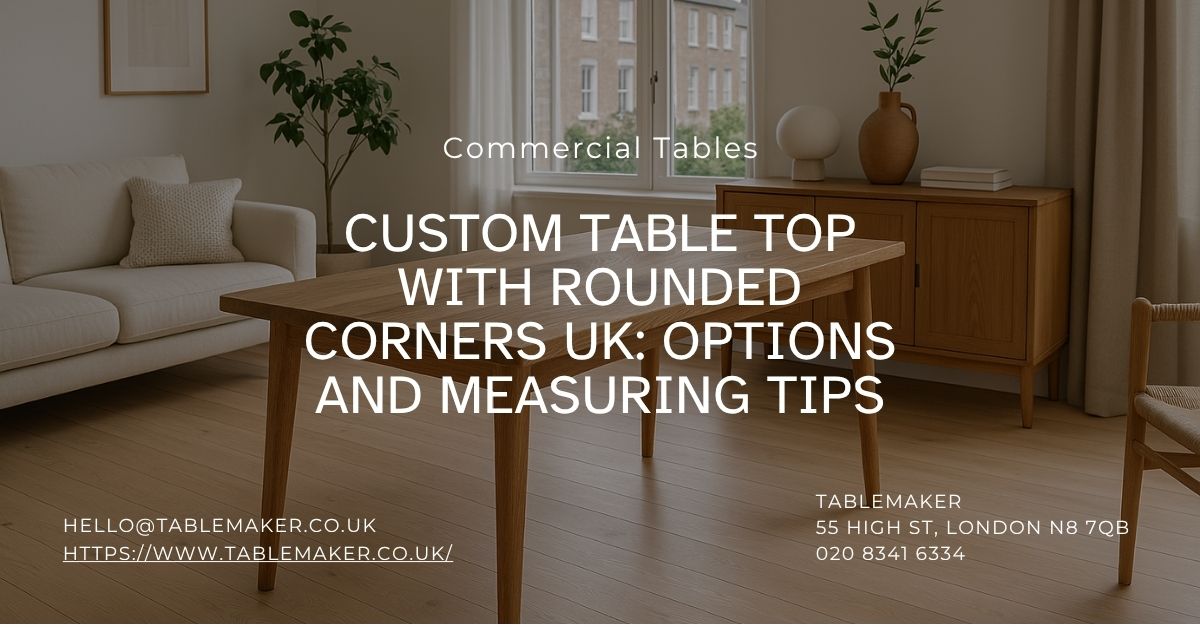
Explore options for rounded corner table tops and learn how to measure and plan for the perfect fit with frames, edge profiles and wood types.
Explore options for rounded corner table tops and learn how to measure and plan for the perfect fit with frames, edge profiles and wood types.
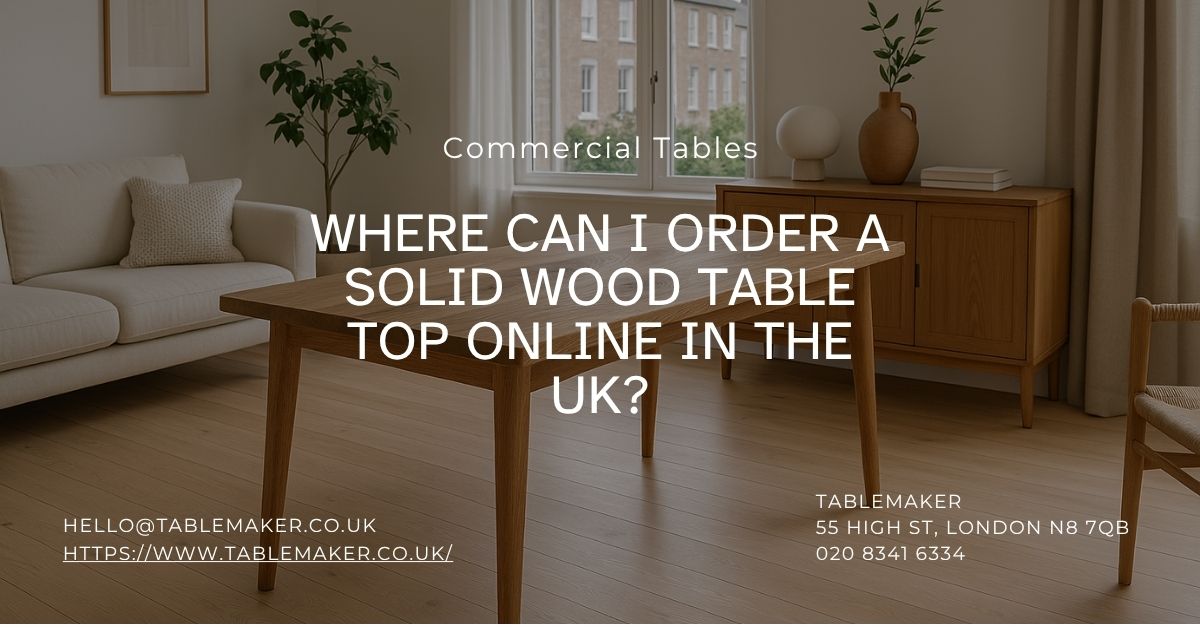
Explore where to buy a solid wood table top online in the UK with tips on materials, sizing, and quality makers who offer custom and ready-made options.
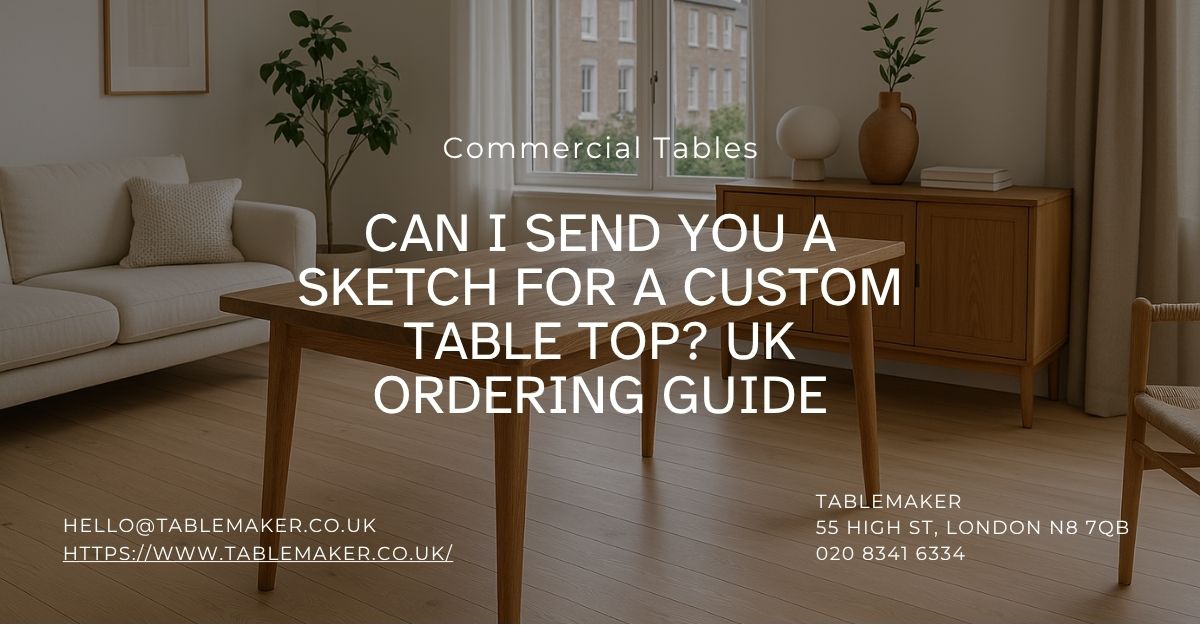
Learn how to order a custom table top with just a simple sketch. Get guidance on materials, finishes and sending your drawing to the UK workshop.
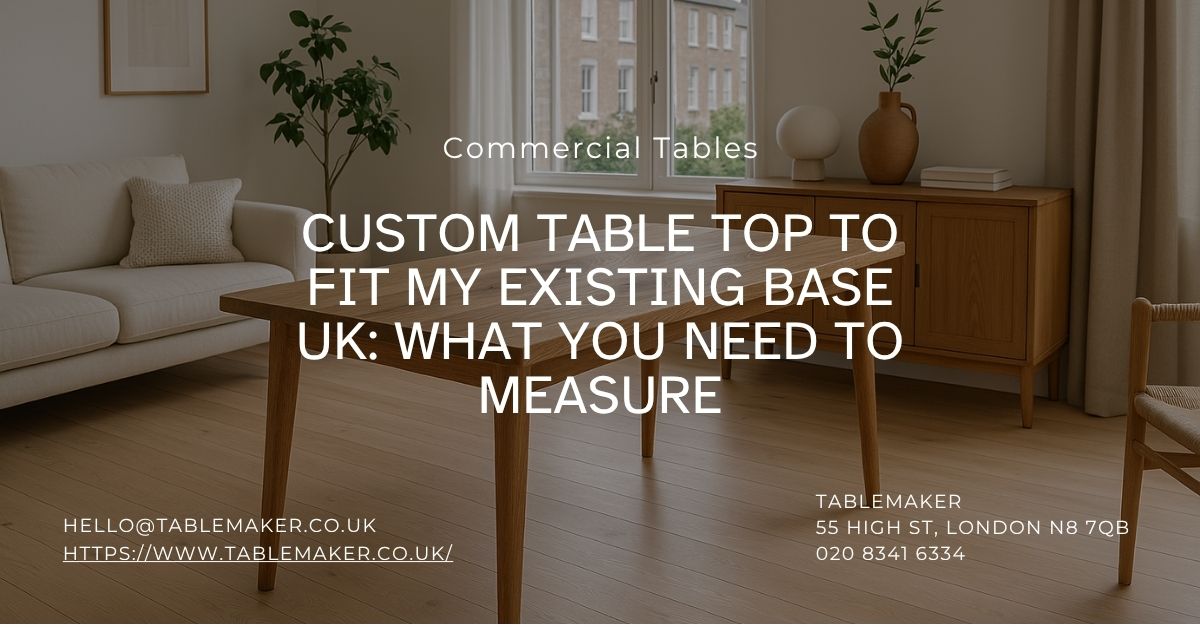
Learn how to measure your existing base for a custom table top in the UK. Follow step-by-step tips to ensure proper fit, comfort and table stability.
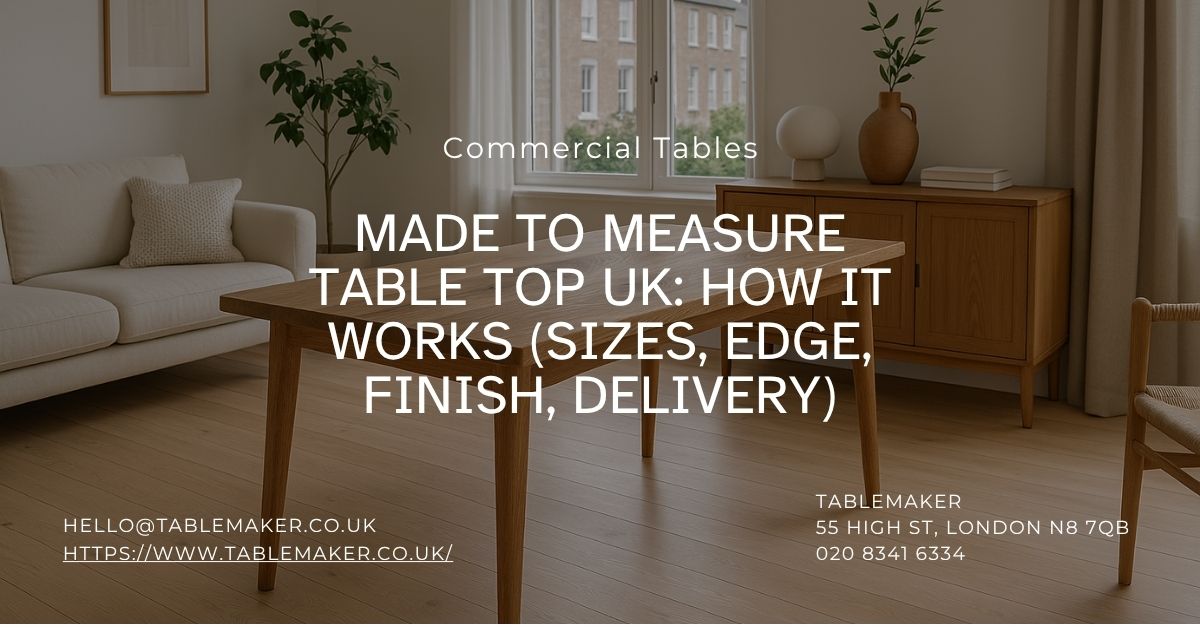
Discover how made to measure table tops offer precise sizing, custom edges and lasting finishes, all crafted in the UK and delivered in just a few weeks.
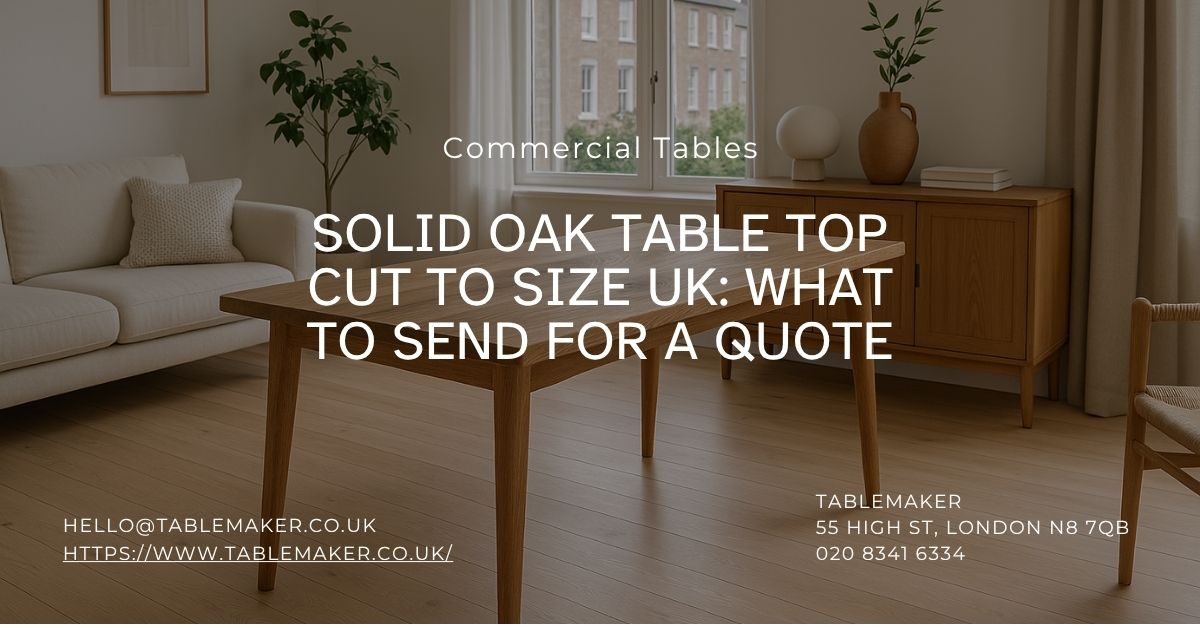
Learn what details to send for a fast, accurate quote on solid oak table tops made to your specifications in the UK.
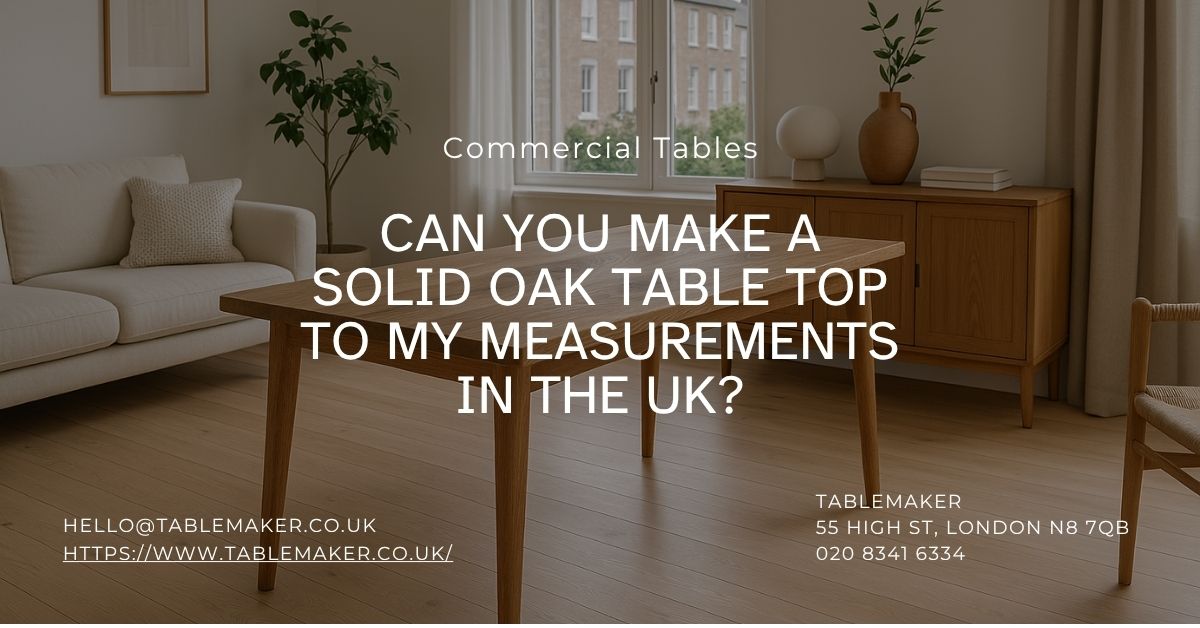
Find out how to order a solid oak table top built to your exact measurements by UK workshops, with tips on sizing, finish, and base compatibility.

What if the most ordinary table in your space is a major liability? Discover what insurers actually look for and how to protect your business.

Thinking of cutting corners on tables? Think again. Discover why some cost more and how to know when the extra spend is worth every pound.

Avoid costly mistakes most businesses don’t see coming. Discover why your tables may not last and how to choose better without wasting your budget.